I haven't posted in a couple of Wednesdays so this is more my progress over the last ~3 weeks rather than the last week.
The project I wanted to share today is one I have just become re-interested in after becoming frustrated and setting it aside. Long-time readers may remember I mentioned it in my
UFO list way back at the beginning of last summer (ouch) and I haven't made too much progress on it since then. I decided to do some thread painted portraits of my dogs, so I found pictures I'd taken of each of them, scanned them into photoshop, and then played around with the colors and backgrounds until I got combinations I liked. It's actually really sad, but since I started this project we had to put down my precious Pumpkin dog, and have acquired the wonderful Bentley dog. I thought about doing a Bentley portrait as well, but decided that not all the dogs would be in every project anyway, so I'd just stick with three.
I was going to show the original pictures and my photoshopped versions, but at the moment I can't find any of them. Somewhere on some computer (sigh). This is what happens when I delay on projects. Just believe me when I say the dogs aren't blue/purple/yellow.
After photoshopping, I printed the pictures out on 4 pieces of fabric prepared for inkjet printing, and sewed them together. I didn't really know anything about thread painting, but I did know I needed some sort of base, so on the first one (the Bullett dog), I used some kind of fusible interfacing I had in my stash. It worked ok, but as I didn't know anything about thread painting, I didn't really stabilize around the dog part first and I thread painted really densely all over the dog without putting anything in the background, so the whole thing drew up and puckered terribly. After finishing the dog part on Bullett, I went on to Pumpkin and used a layer of interfacing and a layer of muslin-type fabric, but it still pulled up and puckered (again, I missed out on things like stabilizing the background). After that I got so frustrated with how they were all puckered that I put them away until just last week.
My re-interest in the project was sparked by two things. First, I decided I wanted to have a "quilting" project going at the same time as a piecing project since my singer is up and running now, and the threadpainting seemed like a good thing to work on (rather than starting something new). The more important thing though, was that I took a class at MQS from Dusty Farrell (more on that on Friday). He does lovely thread painted quilts with high density thread painting in the center and regular (albeit dense) quilting in the background. His quilt at the show hung perfectly straight. When I asked him in the class how he managed that, he told me mostly he just stretches and stretches and blocks and blocks and blocks. Of course, he also showed us in the class how he stabilizes the area around his thread painting and applique too, which probably would have helped me immensely from the get go. In addition, he does all his thread painting on the longarm (through all three layers), so there's already a bit more tension on his "canvas" than mine. Anyway, I was inspired to pull back out my dogs. My first task was to soak them all and stretch them as much as I could and block them out. I didn't do the Missy dog (since she hadn't been started yet), but I did the other two. I couldn't do them on the design wall since I couldn't pull hard enough against pins to get them as stretched as necessary, so I staple gunned them to a piece of plywood covered in canvas.
So here they are! My next step is to finish the thread painting on the Pumpkin dog since she's mostly finished already and then quilt the background of the Pumpkin and Bullett dogs (i.e. with batting/backing).
 |
| Pumpkin dog |
 |
| Bullett dog |
.JPG) |
| Missy Dog |
This is as stretched as I could get them. You can see they're definitely still a little puckery and not square, but so much better than they were. I think I can work it out with them like this. I promise to have a better picture of the Missy portrait when I start sewing on her. Incidentally, I'd done some really terrible quilting in the background of the Bullett dog and needed to rip it out. Sadly I forgot to do that until after I'd soaked him for stretching. I can tell you, the only thing worse than ripping out tiny knotted quilting stitches is ripping them out when your fabric is wet. Don't. Just Don't.
Finished Projects:
Poppy Purses
Twirly Skirt
Summer Blouse
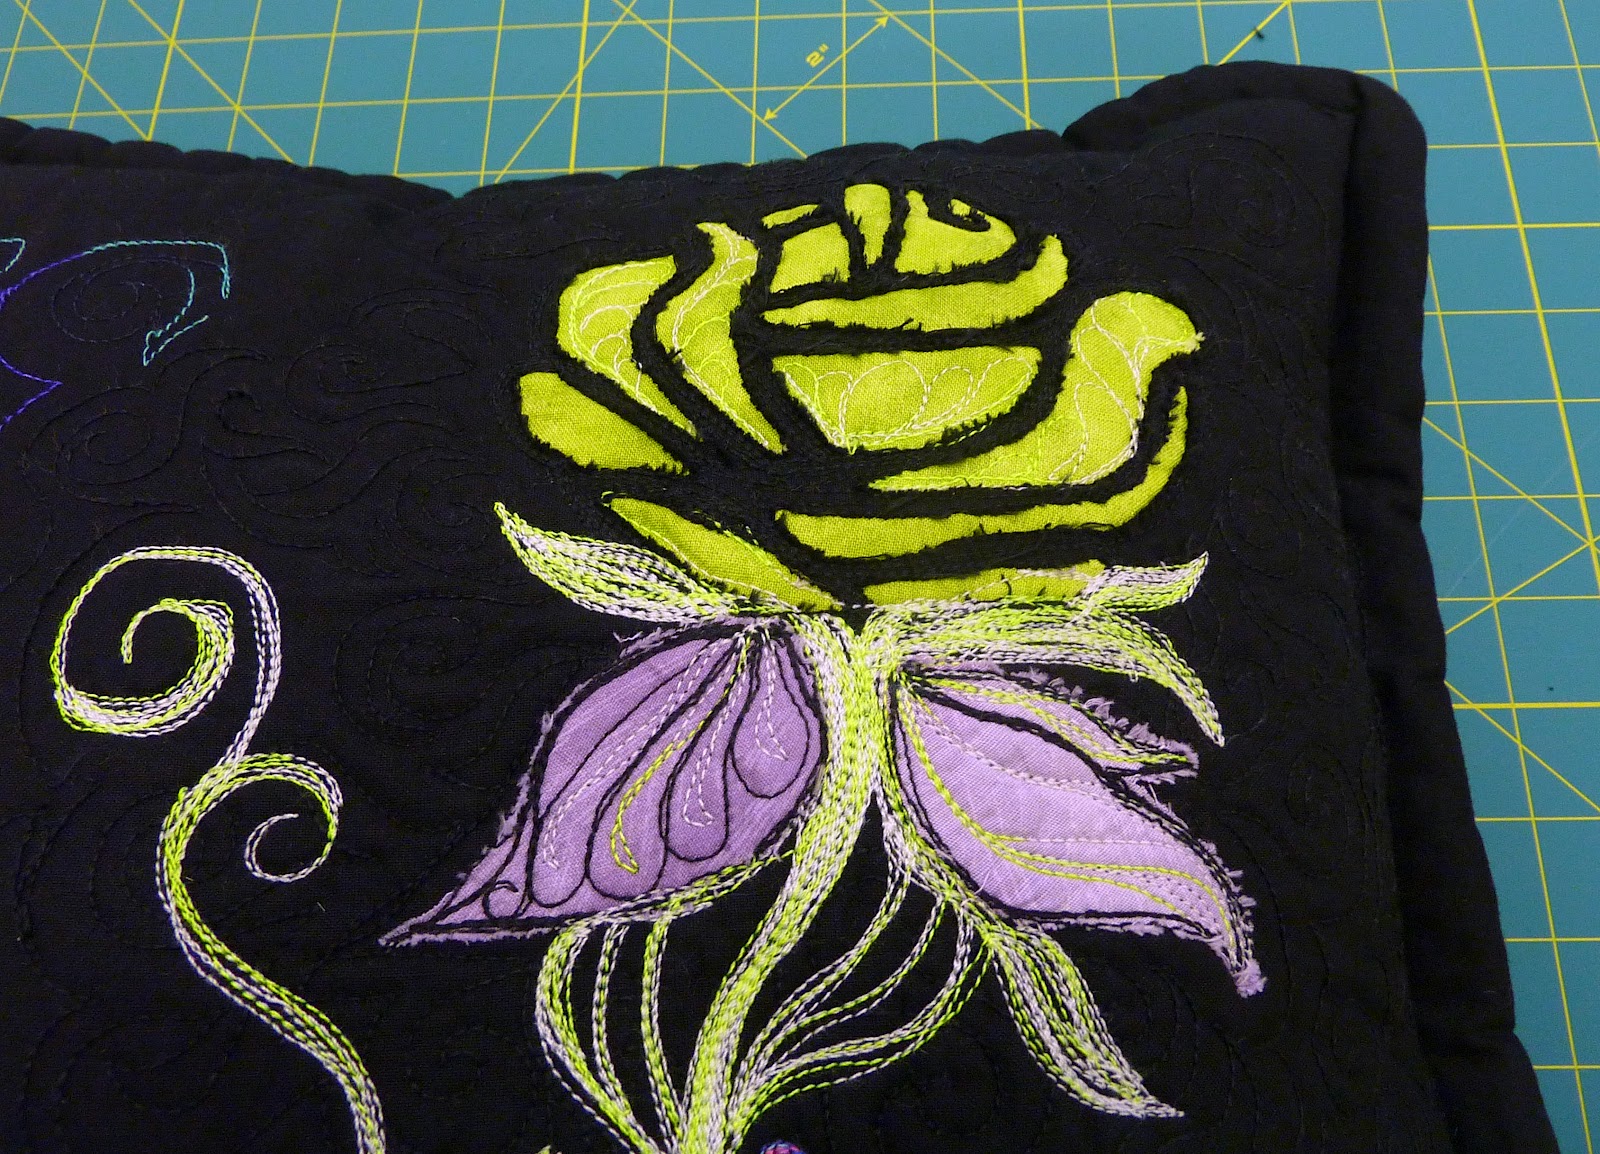
MQS Pillow
Actively Ongoing Projects:
Seymour-the-Dinosaur
Dog portraits
Crochet flower blocks
Projects Currently on Hold:
Nativity Quilt
Star English Paper Piecing (waiting to see if I like the new thread better)
Yellow Whole Cloth Quilt
Linking up as usual with
Lee and
Sew Much Ado.
.JPG)


.JPG)


.JPG)
